
If your shower filter is leaking, turn off the water before you use the shower again. Dry the outside of the assembly, then identify the first point that becomes wet. A loose joint may call for a gasket or thread check. A cracked housing, damaged cartridge, or leak near electricity needs the exact model instructions and supplier support.
Do not assume every shower filter has the same thread, washer, flow direction, or pressure limit. Use the manual and installation record for the model in front of you.
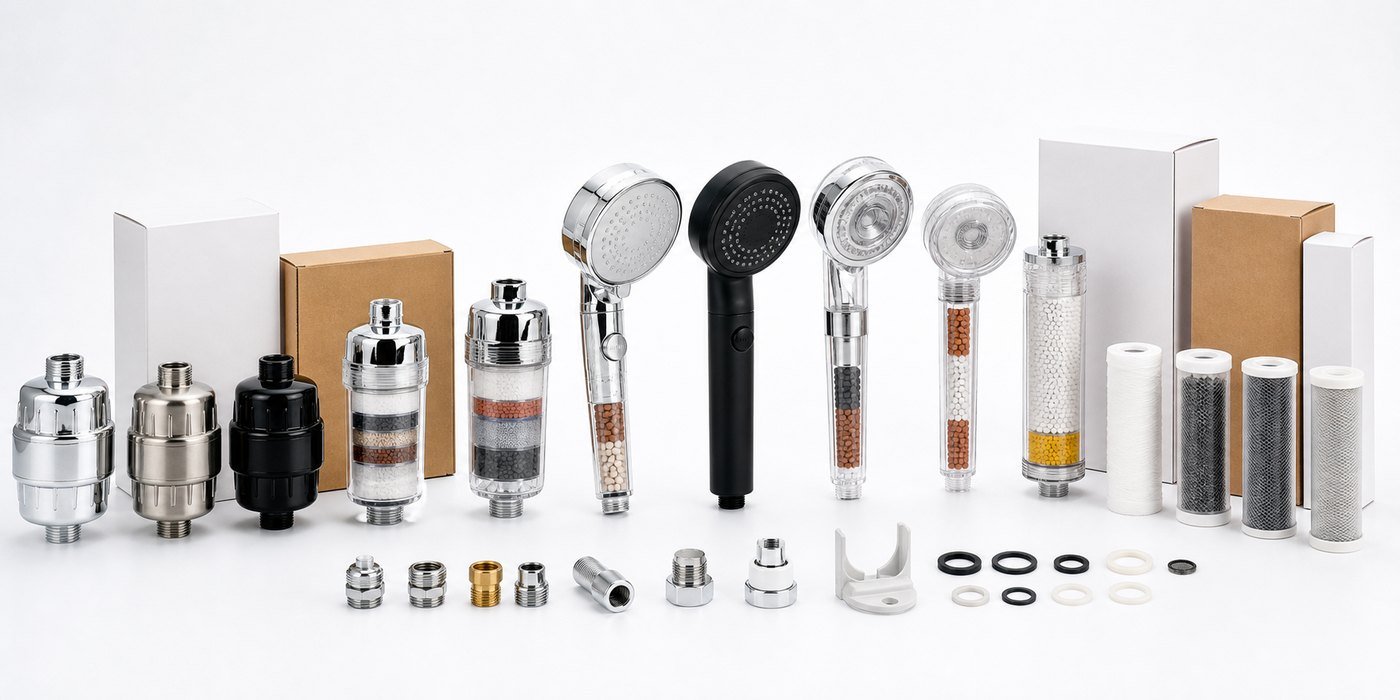
Stop the water before you inspect the filter
- Turn off the shower. If the leak continues, isolate the water supply using the site’s normal procedure.
- When water is close to an electrical connection, follow the equipment and site safety procedure before you touch the assembly.
- Dry the filter, shower arm, head, and nearby fittings with a clean cloth.
- Keep the filter unpressurized while you inspect the outside.
Do not open a pressurized housing. Stop using the product if it sprays water toward an electrical fitting, has a visible crack, or cannot be installed securely by the approved method for that model.
Find the first wet point
Water often runs along a housing or shower arm, so the largest puddle may be below the actual leak. Dry the full assembly, run a short check from a safe position, and watch where water appears first. The source may be the wall connection, filter joint, cartridge cover, hose connection, shower head, or housing body.
Take a photo of the dry assembly, the first wet point, and the model label. Those images give the supplier something concrete to review.
Check the gasket or washer
If water starts at a joint, turn the water off and inspect the gasket or washer named in the model instructions. Check for a missing, displaced, flattened, split, or dirty part. A washer from another model can look close enough to fit while still leaking.
Clean the contact surfaces gently and refit the exact part in the position shown by the manual. Do not stack extra washers or apply an unapproved sealant to hide a fit problem. When you cannot identify the part, ask the supplier for the correct replacement before you continue.
Check the connection without forcing it
Look for damaged threads, debris, cross-threading, or a fitting that is not aligned. Start the connection by hand, then tighten it only as the model instructions allow. Excessive force or an unsuitable tool can damage a plastic housing.
The shower arm, extension, hose, or head may be leaking instead of the filter. If the filter stays dry when you bypass it as the manual permits, record that observation rather than treating the filter as defective.
Check direction and cartridge seating
Some designs mark an inlet, outlet, or flow direction. Others use a fixed cartridge position. Check the drawing or manual for the exact model before you change anything. A poorly seated cartridge can let water escape around a seal.
Do not copy an orientation from a product photo for a different model. If the cartridge cover or locking ring will not close normally, stop instead of forcing it.
Inspect the housing, cover, and hose
Look for a hairline crack, dent, damaged cover, loose insert, split hose, or seal that has moved out of its channel. A cracked housing is not a gasket adjustment. Isolate the water and contact the supplier with the model, purchase record, and images.

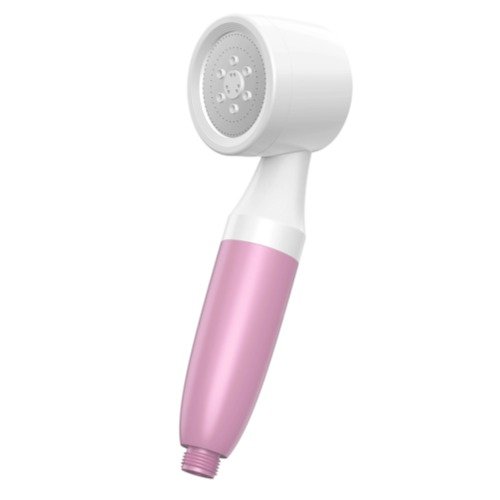
For a hand-held design, inspect the hose and handle connection separately. For a pre-shower or inline design, inspect the upstream and downstream joints separately. The hand-held shower filter formats page helps you compare formats, but it does not replace the instructions for the selected product.
Use model evidence when pressure may be involved
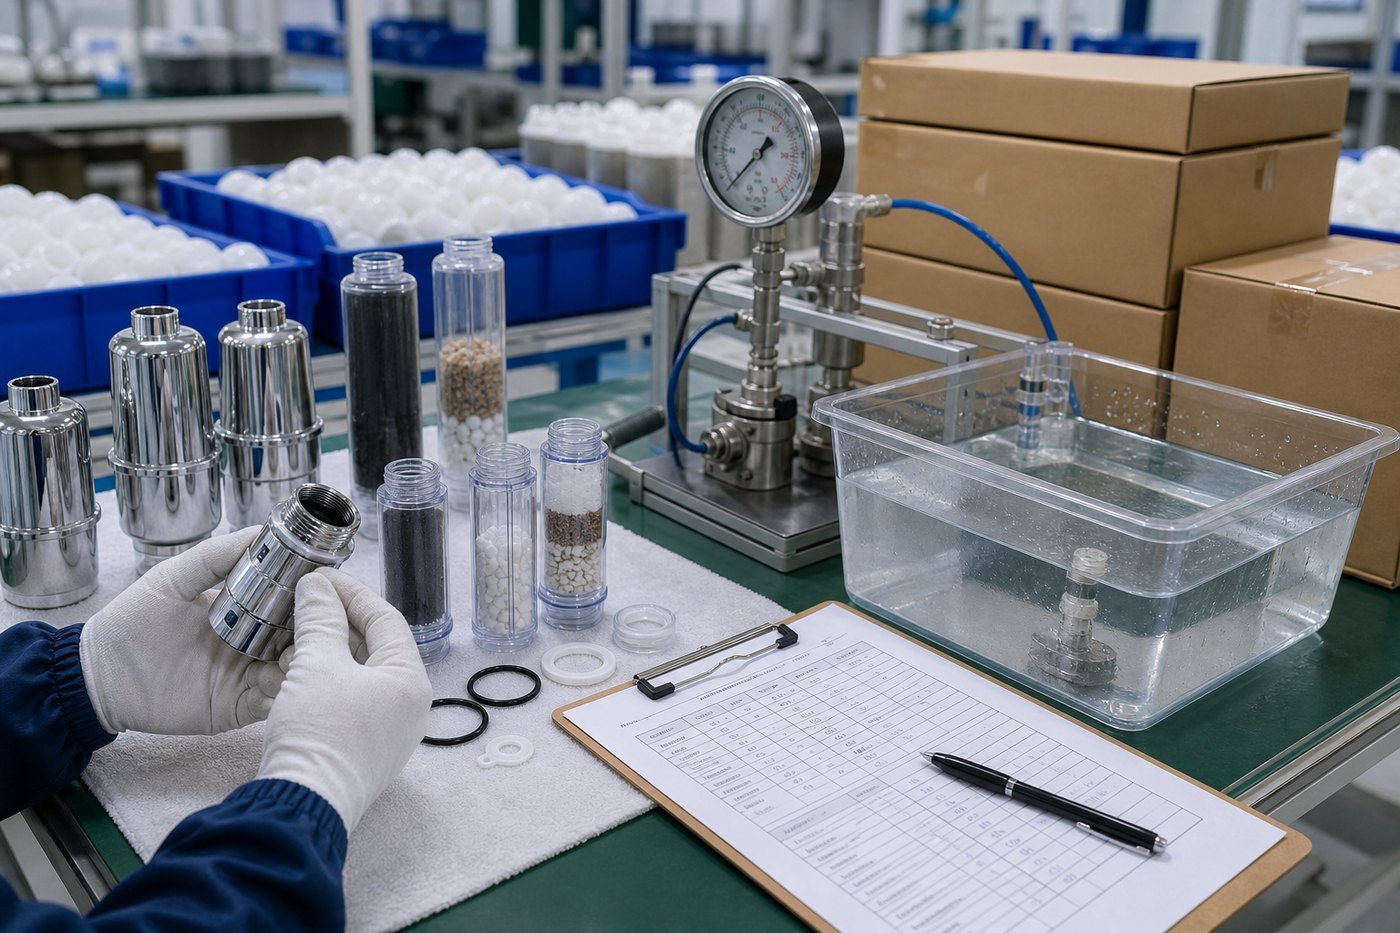
Pressure can reveal a weak joint, but the applicable conditions come from the selected model and the site installation record. Do not apply one pressure or flow figure to every shower filter. If the leak began after a plumbing, pump, or shower-head change, include that event in your supplier report.
Check again after an approved correction
After you correct an approved gasket, alignment, or cartridge-seating issue, dry the assembly and run a short controlled check. Watch the joint and housing while the water is on. Stop when the first wet point returns, the housing moves, or water reaches an unsafe location.
Record the correction, model revision, and result. One dry check does not prove long-term performance and does not justify a universal repair instruction.
When you should stop using the filter
- A crack, split housing, or damaged locking part is visible.
- The leak continues after the approved gasket and alignment check.
- Water reaches an electrical connection or unsafe surface.
- You cannot identify the correct replacement part.
- The connection or cartridge does not match the current drawing.
- The product has been forced or modified and its condition is uncertain.
Isolate the water and contact the supplier. Do not keep using a leaking product to see whether the condition changes.
Send the supplier a useful troubleshooting brief
Include the model and cartridge ID, purchase or order reference, installation format, photos of the full assembly and first wet point, the step when the leak appears, any recent plumbing change, and the correction you already tried. A short video can also help when you can record it safely and without exposing private information.
Jinko’s shower filter replacement guide can help you plan a cartridge change. For a new model or a recurring leak, use the contact form and keep the model-specific response with the product record.
Reduce repeat leaks during replacement
Keep the approved cartridge identity, gasket part, drawing revision, and installation instructions together. A visually similar replacement may use a different seal or fit. Before you reorder, confirm that the supplier is quoting the approved model and cartridge record.
For sourcing teams, the shower filter range helps compare formats. Connection and replacement instructions still need to come from the selected model.
Common questions
Can I tighten every leaking shower filter with a wrench?
No. Follow the instructions for the exact model. Excessive force can damage threads, a washer, or a plastic housing.
Does a new cartridge always fix a leak?
No. The leak may be at a joint, hose, cover, or cracked housing. Find the first wet point and match the part to the model record.
Can I use extra tape or sealant?
Use it only when the model documentation allows it. Do not use sealant to cover cross-threading, a missing washer, or a damaged housing.
What should I send the supplier?
Send the model, cartridge ID, full-assembly photo, first wet point, installation format, timing, and any recent change. Keep the water isolated when the condition is unsafe.
Use the model record, then contact the supplier
For broader product selection, review Jinko’s water filter product hub. For a leaking model, send the service brief through Contact Jinko so the response can be matched to the correct product record.